
User Tutorial - Release a Blocklet using Blocklet Studio GUI

This is a user tutorial for those who would like to develop blocklets with limited coding knowledge, via the Blocklet Studio GUI (Graphical User Interface), (same can be done via AIGNE Studio publish GUI too).
This tutorial assumes that you have either a static html project or an AIGNE project ready to be published as a blocklet. (and please ensure that there is no piracy involved in the software used. Any blocklet released must be your own work)
Firstly, for reference on what is happening in the background of the Blocklet Studio GUI, here are the documents explaining how blocklet developing can be achieved through direct coding:
As mentioned, we will not take the code route in this tutorial, but rather use the GUI. Initially we will head over to Blocklet Studio:
After pressing “New Blocklet” on top right corner, this is what will come up. This video shows a “Test” blocklet to explain the sections, (even though they are pretty self-explanatory). First off, name your blocklet. Secondly, generate a DID for your Blocklet by pressing “Connect Official Store”:
Next, enter a blocklet description that will show under your Blocklet Title. Also, upload a logo for your blocklet and a minimum of one pictures of what the blocklet looks like when launched (pictures not included here, but you just press on the empty spaces and add your own from your device):
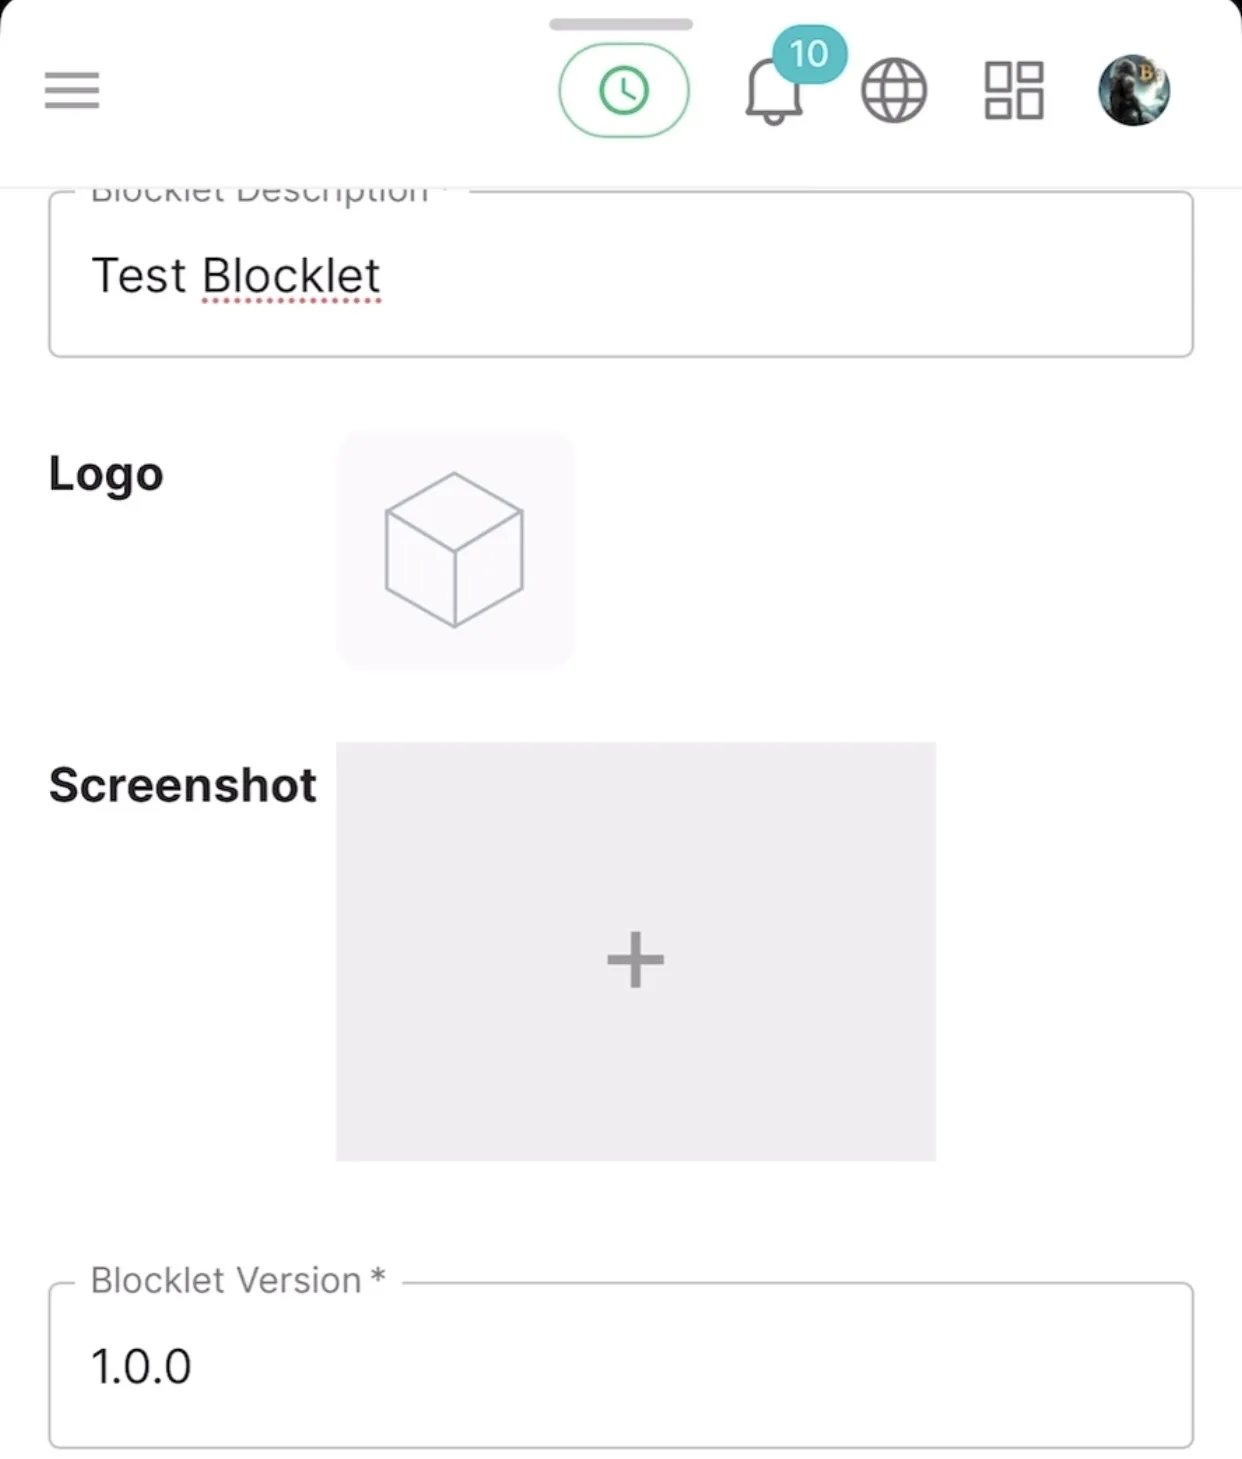
^Next step, is the Blocklet version; this will automatically be filled in upon every new release. For Blocklet notes, on initial release no notes are usually necessary, but upon each new release you will have to write what changes have been made to the blocklet. Now, write an introduction for your blocklet, this tells the world what your blocklet does. Resources section is where you will upload your project file. Make sure to upload a compressed zip file. (Alternatively, if you want to upload a project from AIGNE Studio, you can “select resources from following blocklets”). For this tutorial example, we uploaded a resource from disk, a html project. Make sure that your index.html file is in the root directory and then compress it alongside all other necessary files (i.e images, script.js, style.css) into a zip archive folder. Then upload the zip folder or drag and drop it into Blocklet Studio GUI.
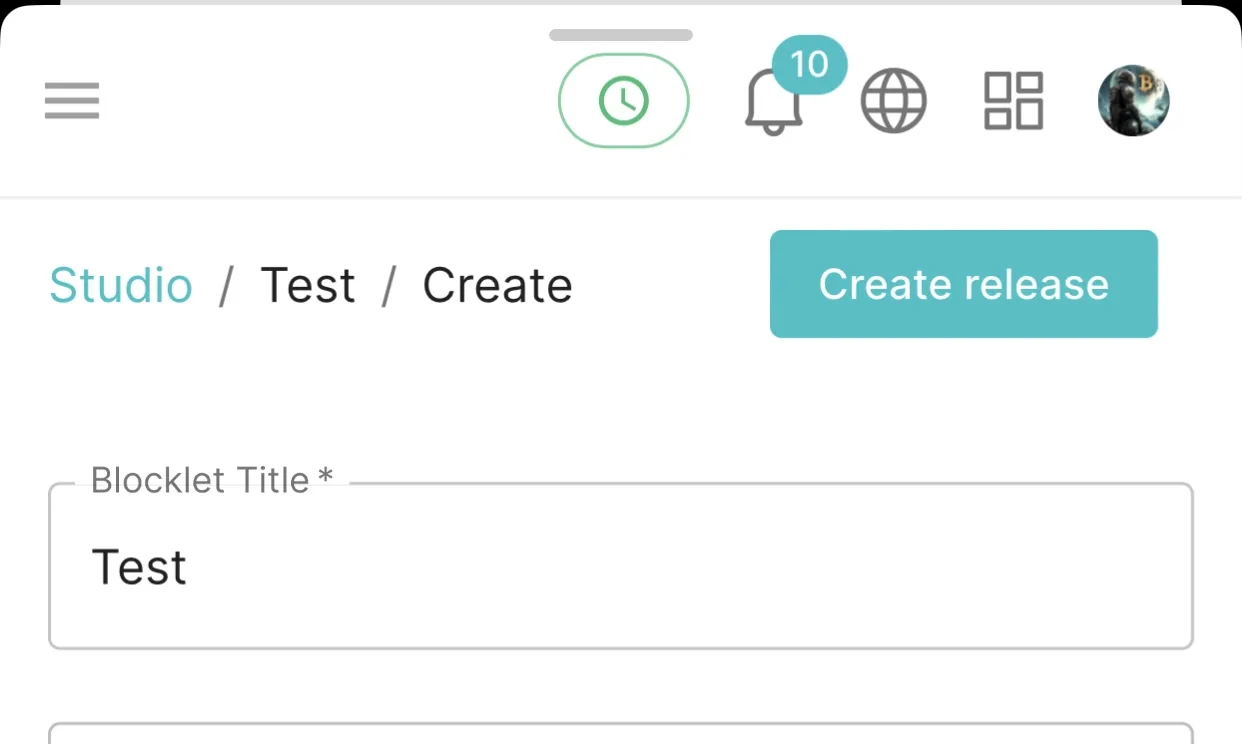
Your Blocklet would now be ready for first version release, so at this stage, you can press “Create Release”.
Here is an example of an already released Blocklet, CrypSnake, displaying all sections filled up:
And that’s it! You have officially released your first version/iteration of your blocklet.
Next tutorial, is here on how to now publish your newly released blocklet to a store: